Archive for the ‘handmade gifts’ Category

Marbleizing Paper

May 25, 2008

To make this fun and easy marbleized paper you will need: 1/2 tsp alum (helps paint adhere to the paper), 2 cups liquid starch, liquid acrylic paints, a long wooden skewer , a 9 X 13 pan and white copy paper cut to fit the inside your pan. You can change up the size of the pan, just keep the proportions of starch and alum the same. The starch should be 1 to 2 inches deep in your pan.

marbelizing-paper-006-1.jpg

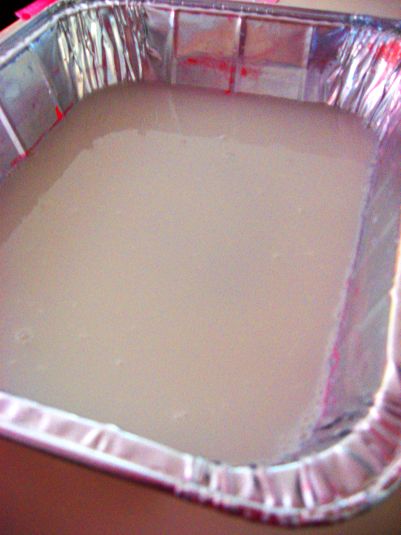
Pour 2 cups of liquid starch in the pan then add 1/2 tsp alum stirring until mixed.

marbelizing-paper-002-2.jpg

Gently drop acrylic paint on the surface of the starch. Some paint will sink to the bottom- do not worry. Try not to use too much paint. For best results choose light and dark colors that go together. It will take some experimenting to know how much paint works best for you. Brands of acrylic paint differ in consistency. If after several tries you have trouble with the paint not staying on the surface, try adding a drop of water to your paint.

marbelizing-paper-001-3.jpg

Take the wooden skewer and drag the paint through the starch. Continue dragging the skewer through the paint until you get a design you like. You might try other tools like a fork, feather or comb besides the skewer. Really the fun of this activity is watching the paint swirl around making different designs. There is no right and wrong. Enjoy the experimenting. We were mesmerized —- we hope you will be also!

marbelizing-paper-003-5.jpg

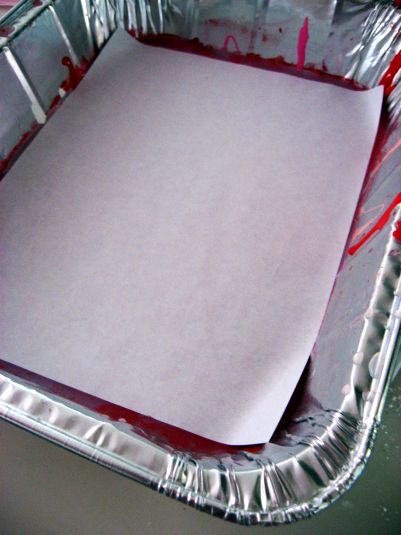
Lay your piece of paper on top of the starch. Allow it to sit for a couple of seconds.

marbelizing-paper-005-4.jpg

Lift the paper out of the pan and allow the starch to drip off the paper

marbelizing-paper-004-6.jpg

Rinse the paper under running water removing any extra starch. This does not change the intensity of the colors (the below photo is a different piece of paper paper from the above photo)

marbelizing-paper-010-7.jpg

After the paper has been rinsed, lay it out to dry. It will take about two hours for the paper to dry. When the paper is completely dry, iron on medium setting until the sheets of paper are flat.

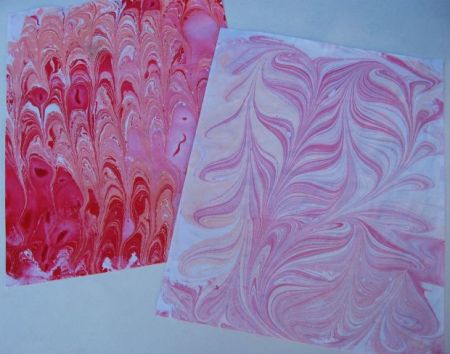
You may find that you can print two sheets of paper before adding more paint to the starch. In the photo below, the bottom piece of paper was made first. We then used our skewer again making a different design and put on another sheet of paper.

marbelizing-paper-007-8.jpg

In the photo below we had too much paint on our starch so we went ahead and made a print then changed up the design and then made another. If you feel that you have made a lot of prints and your starch is too full of paint, just pour it out and start again.

marbelizing-paper-001-9.jpg

The possibilities of what to do with your paper are endless—- cover pencils, a book or a box, make note-cards, book marks or a picture frame etc.

Have fun!

Appreciation 7 days a week

April 22, 2008

This year for teacher appreciation week we will be giving each teacher a “days of the week” pill box filled with little treats and sayings. I found the pill boxes at the dollar store.

You may download the sayings if you like –

teacher-appreciation-sayings

(I didn’t use the “We are lucky to have you for a teacher” saying. It would go nicely with a lottery ticket!)

Fabric covered tacks fill one of the compartments to tell them they are sharp!
I used Jessica Jones’ fabulous instructions to make the fabric covered thumbtacks

Some purchased colorful clips fill the next compartment

Next up marble magnets

These are simple to make with glass gems (floral department at the craft store), E600 craft adhesive, a 3/4 inch hole punch, 3/4 inch magnets and decorative scrapbook paper, wrapping paper and or magazine scraps. First punch out a circle and glue it to the back of the glass gem. I removed air bubbles by moving paper in a circular motion to distribute glue evenly and then pressing hard. Allow to set. Next glue the magnet to the back of your papered gem. I found it necessary to sort my glass gems to find the largest ones with no scratches or imperfections. If your glass gems are smaller try using a 1/2 inch hole punch and 1/2 inch magnets.

A measuring tape tells our teacher that they really measure up

Change for the soda machine fills another compartment

Small little post-it notes (the kind for marking a page) just fit to say, “Just a note to let you know we think you are a wonderful teacher!”

Some mints to say thank you

Wrapped all up with a little gift tag that reads:

A daily gift for all you do,
Teaching my child each day through.
Making a difference without taking a rest,
As a teacher, you’re one of the best!

teacher-appreciation-gift-tag-for-pill-box

Hopefully our teachers will feel appreciated each day!

What’s for lunch?

April 8, 2008

How about a ham, roast beef and Swiss pita with tomato and lettuce and a bag of chips?

 felt-pita-and-chips.jpg

This little lunch is for my niece’s birthday.  I could easily become addicted to making felt food. 

Stuffed

January 18, 2008

Our pal Elle came today and she made the most adorable stuffed butterfly and “puppy.”

fabric-crayons-007.jpg

These fabric crayons are great to have on hand to pull out when a quick and entertaining crafted is needed. You can use regular crayons directly on fabric but I really like using the paper. I think it is much less intimidating for children.

fabric-crayons-001.jpg

First Elle colored these pictures on plain white paper. You need to color hard. Keep the drawing large with simple edges. It is important to color on only ONE side of the paper. If your child feels that she made a “mistake” give them another sheet. Our “mistakes” bled through when we ironed. Remind them that their drawings will be reversed so they must write backwards if they are using letters.

fabric-crayon-drawings.jpg

Iron the drawings onto synthetic or poly/cotton blended fabric (I think my colors would have been more vibrant if I had done this, but I only had white muslin on hand) by placing the drawing face down on right side of fabric . Sandwich a layer of plain white paper on the top and on the bottom to keep from leaving crayon on your iron and ironing board. With iron on cotton setting, iron over design until the image is seen through the back of the paper.

Place the design onto another piece of fabric right sides together and stitch around the design, leaving a small opening for the stuffing. I think this is much easier than cutting out the design and then sewing.

fabric-crayons-003.jpg

Cut out the creatures, clip all corners and curves

fabric-crayons-005.jpg

Turn inside out and stuff

fabric-crayons-006.jpg

Slip stitch the opening closed and you have some wonderful creations.

fabric-crayons-dog.jpg

Homemade Caramel Corn

December 23, 2007

This is a sweet treat for some sweet friends. 

caramel-corn.jpg

I use my friend Di’s recipe.  It is easy and so delicious!

Di’s Caramel Corn

½ Cup butter (1 stick)
1 Cup light brown sugar
¼ Cup light corn syrup
½ teaspoon salt
¼ teaspoon vanilla extract
¼ teaspoon baking soda
3 quarts (12 cups) popped corn                       

In heavy saucepan on medium to medium-high heat melt butter then add brown sugar, corn syrup and salt. Bring mixture to a boil stirring constantly.  Once mixture boils stop stirring and boil for 5 minutes (Do not stir).  Remove from heat and carefully stir in vanilla and baking soda.  Pour mixture over popped corn. Gently stir to coat popcorn.  Place popcorn into a large roaster or rimmed baking sheet and bake at 225° F for 1 hour, stirring every 15 minutes.  Cool and enjoy!

Two batches of this recipe filled my three containers from Wal-Mart perfectly.

Hooded Towel Tutorial

November 29, 2007

I made this hooded towel for Christmas for my little girl. It is a really simple and quick project made from 1 bath towel and 1/2 of a hand towel.

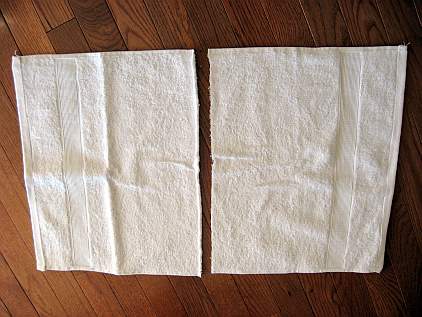
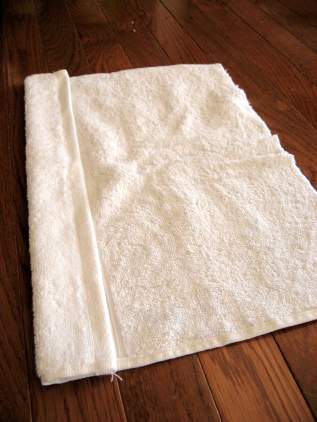
Cut your hand towel in half

hooded-towel-1.jpg

Fold over the finished edge of the hand towel. I folded down just past the ribbing. You want to have about 10 1/2 inches in finished length. Stitch down the edge.

hooded-towel-2.jpg

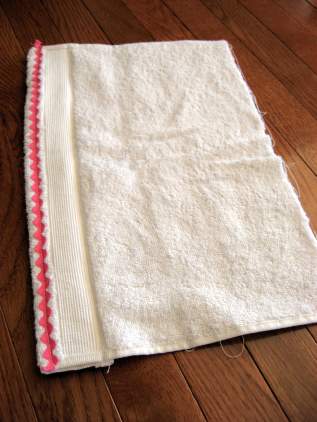
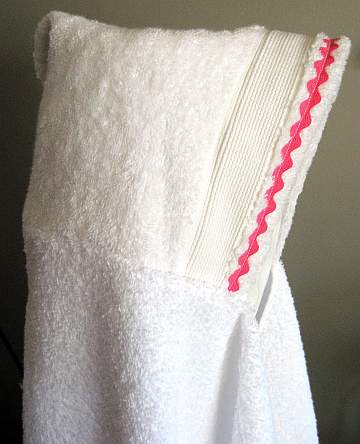
I stitched a little ric -rac to the front.

hooded-towel-3.jpg

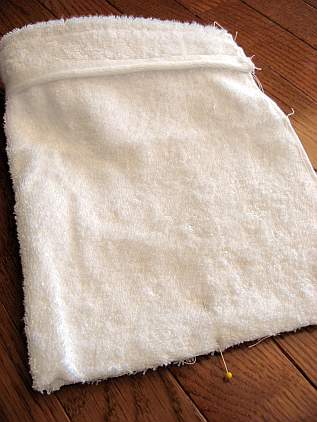
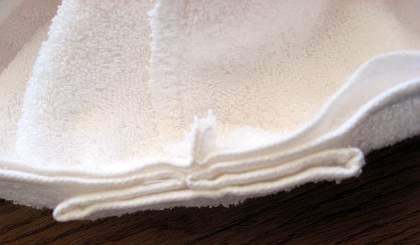
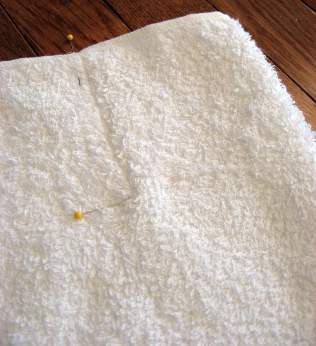
Fold hand towel in half right sides together, find the middle of the side and mark with a pin.

hooded-towel-5.jpg

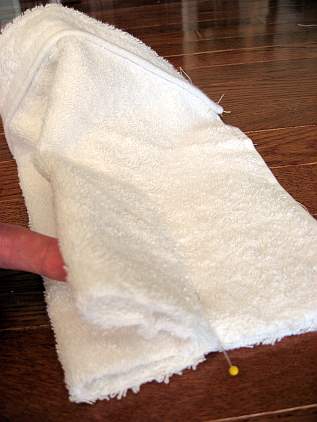
Bring the folded edge into the middle. You may have to remove the pin while you adjust the towel.

hooded-towel-6.jpg

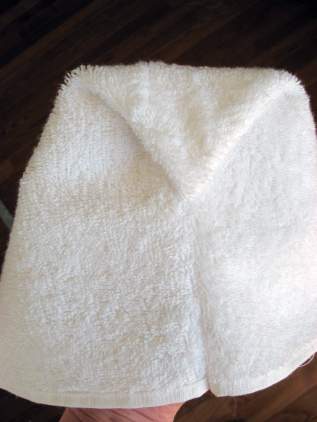
Stitch across the bottom edge making sure you catch all layers of the pleat. When finished stitching, zig zag or overcast your seam to prevent raveling. When you are finished the right side will look like this.

hooded-towel-7.jpg

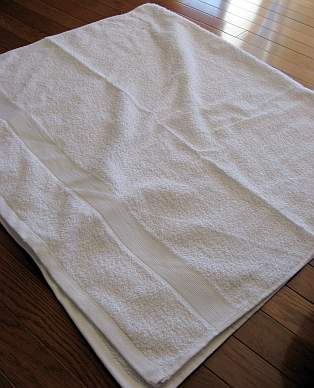
Fold the bath towel in half, right sides together.

hooded-towel-8.jpg

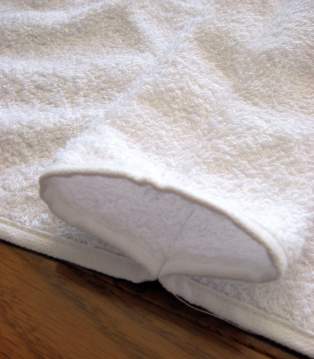
Measure over 3-4 inches from the fold and 3-4 inches down from the top and stitch.

hooded-towel-9.jpg

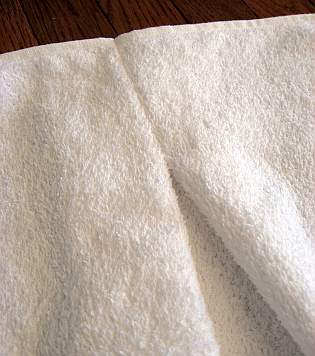
Open bath towel flat and open and flatten the tuck. You can baste across the tuck if you want.

hooded-towel-10.jpg

The front of the bath towel will look like this when finished

hooded-towel-11.jpg

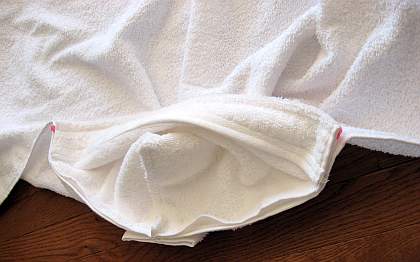
With right sides together, line up center of bath towel and center of hood.

hooded-towel-12.jpg

Pin hood to bath towel. You will stitch from the side edge of the hood across to the other side. Be sure to back stitch when starting and stopping to reinforce the seam. I stitched close to the edge along the inside of the towel’s finished edge. (I have not stitched in the following photo)

hooded-towel-13.jpg

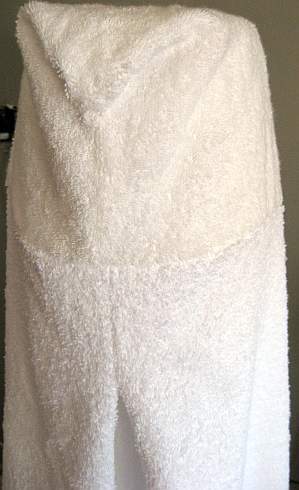
The finished towel looks like this

hooded-towel-14.jpg

hooded-towel-15.jpg

Now that it is finished I am wishing I had added another row of ric- rac or that I could find the darling pink towel with rainbow ribbing I originally purchased for this project!